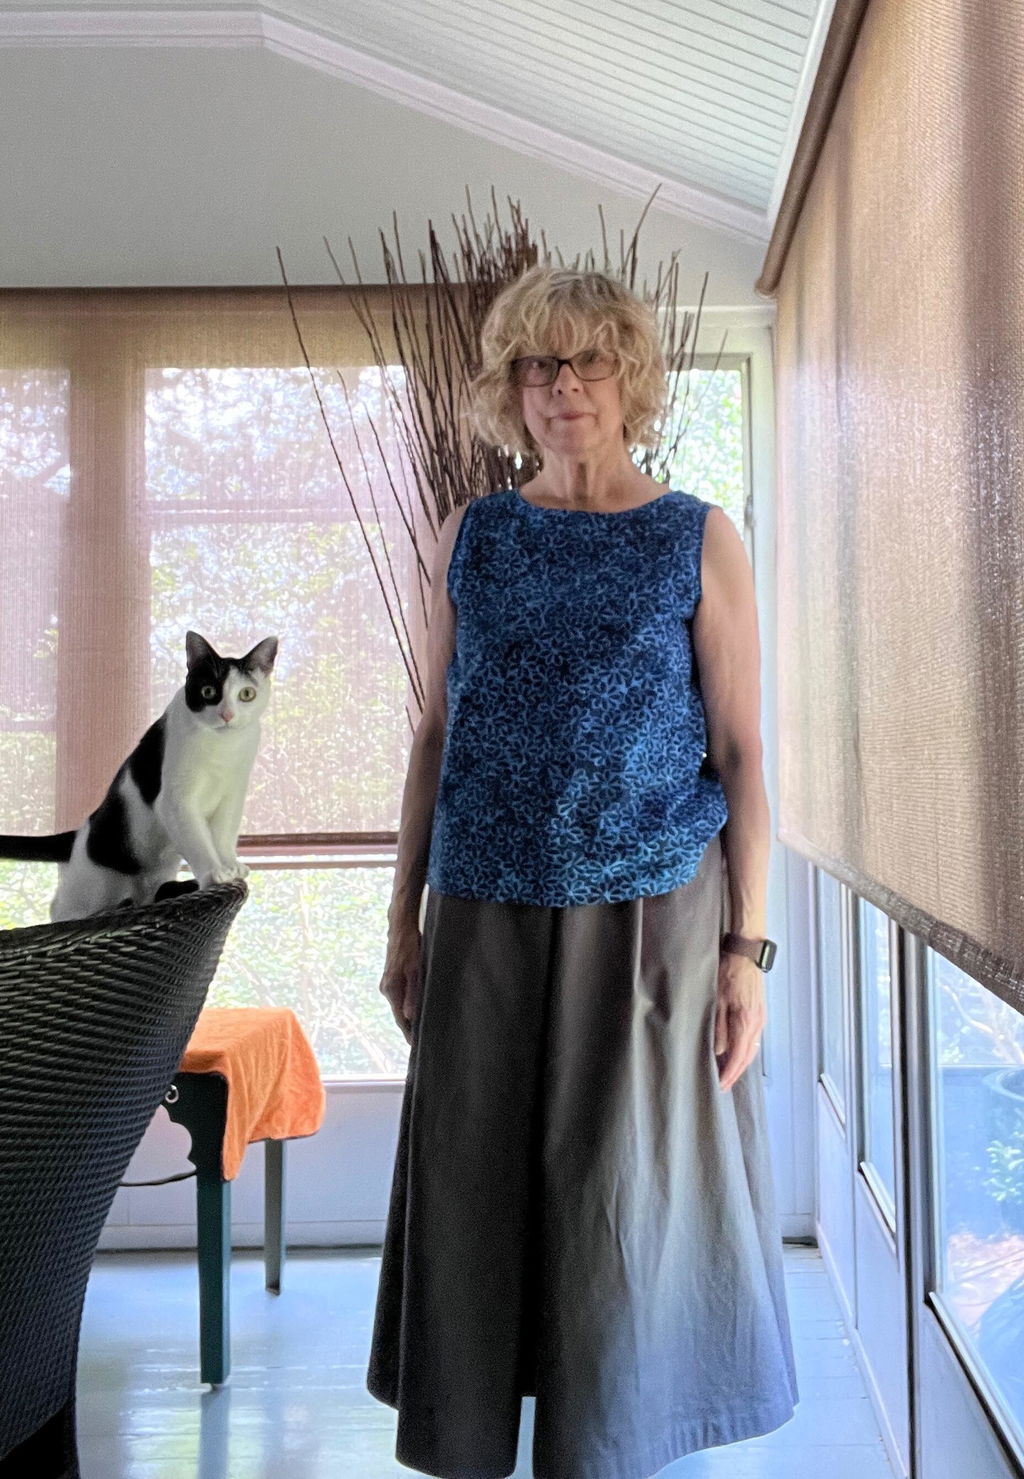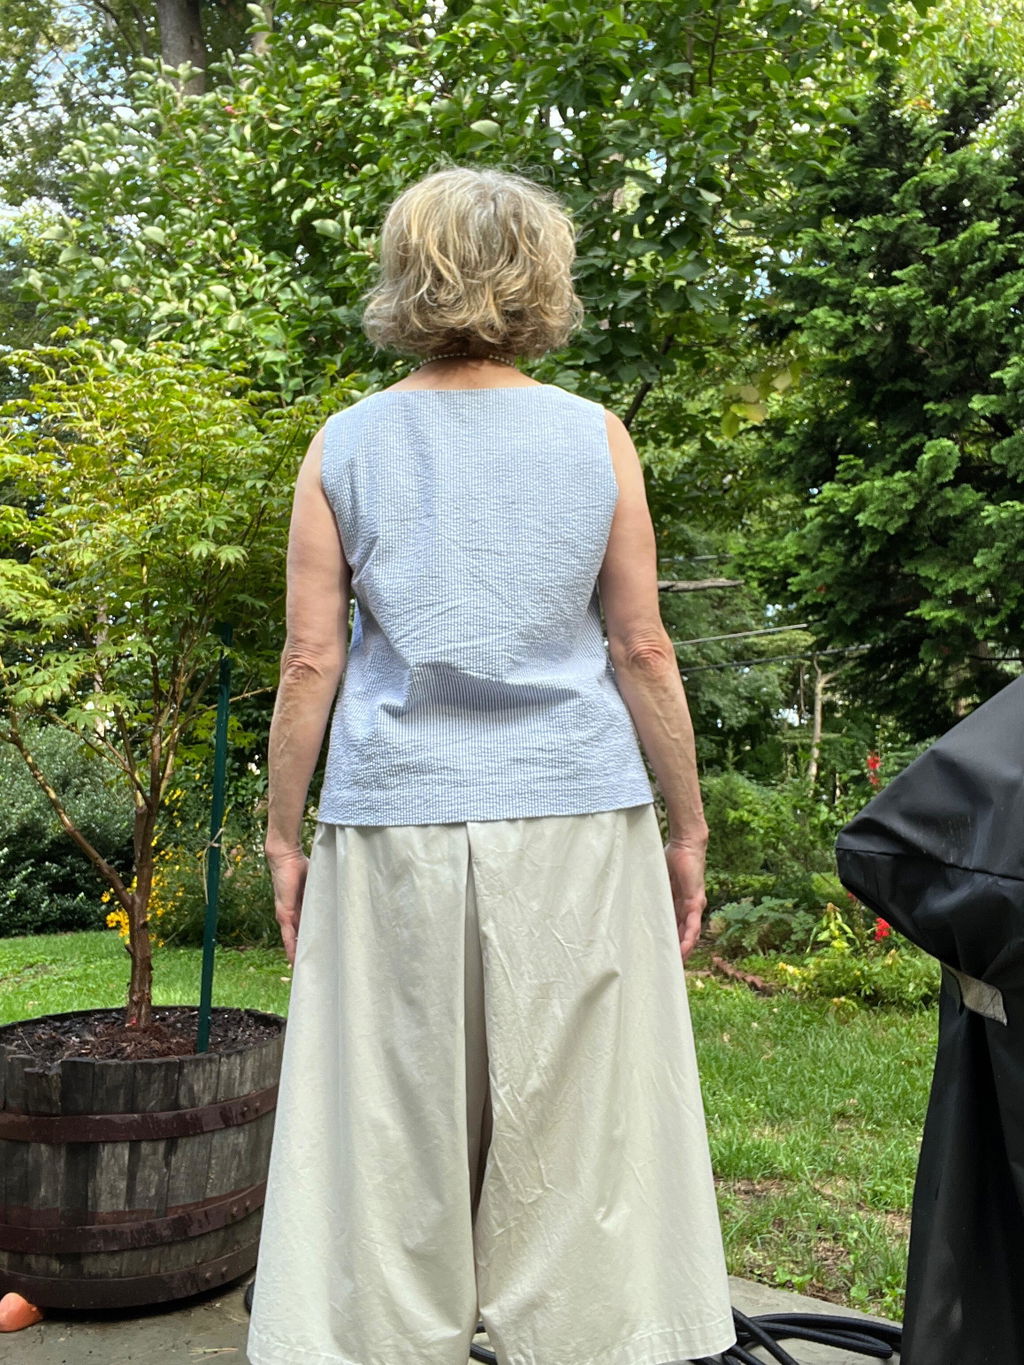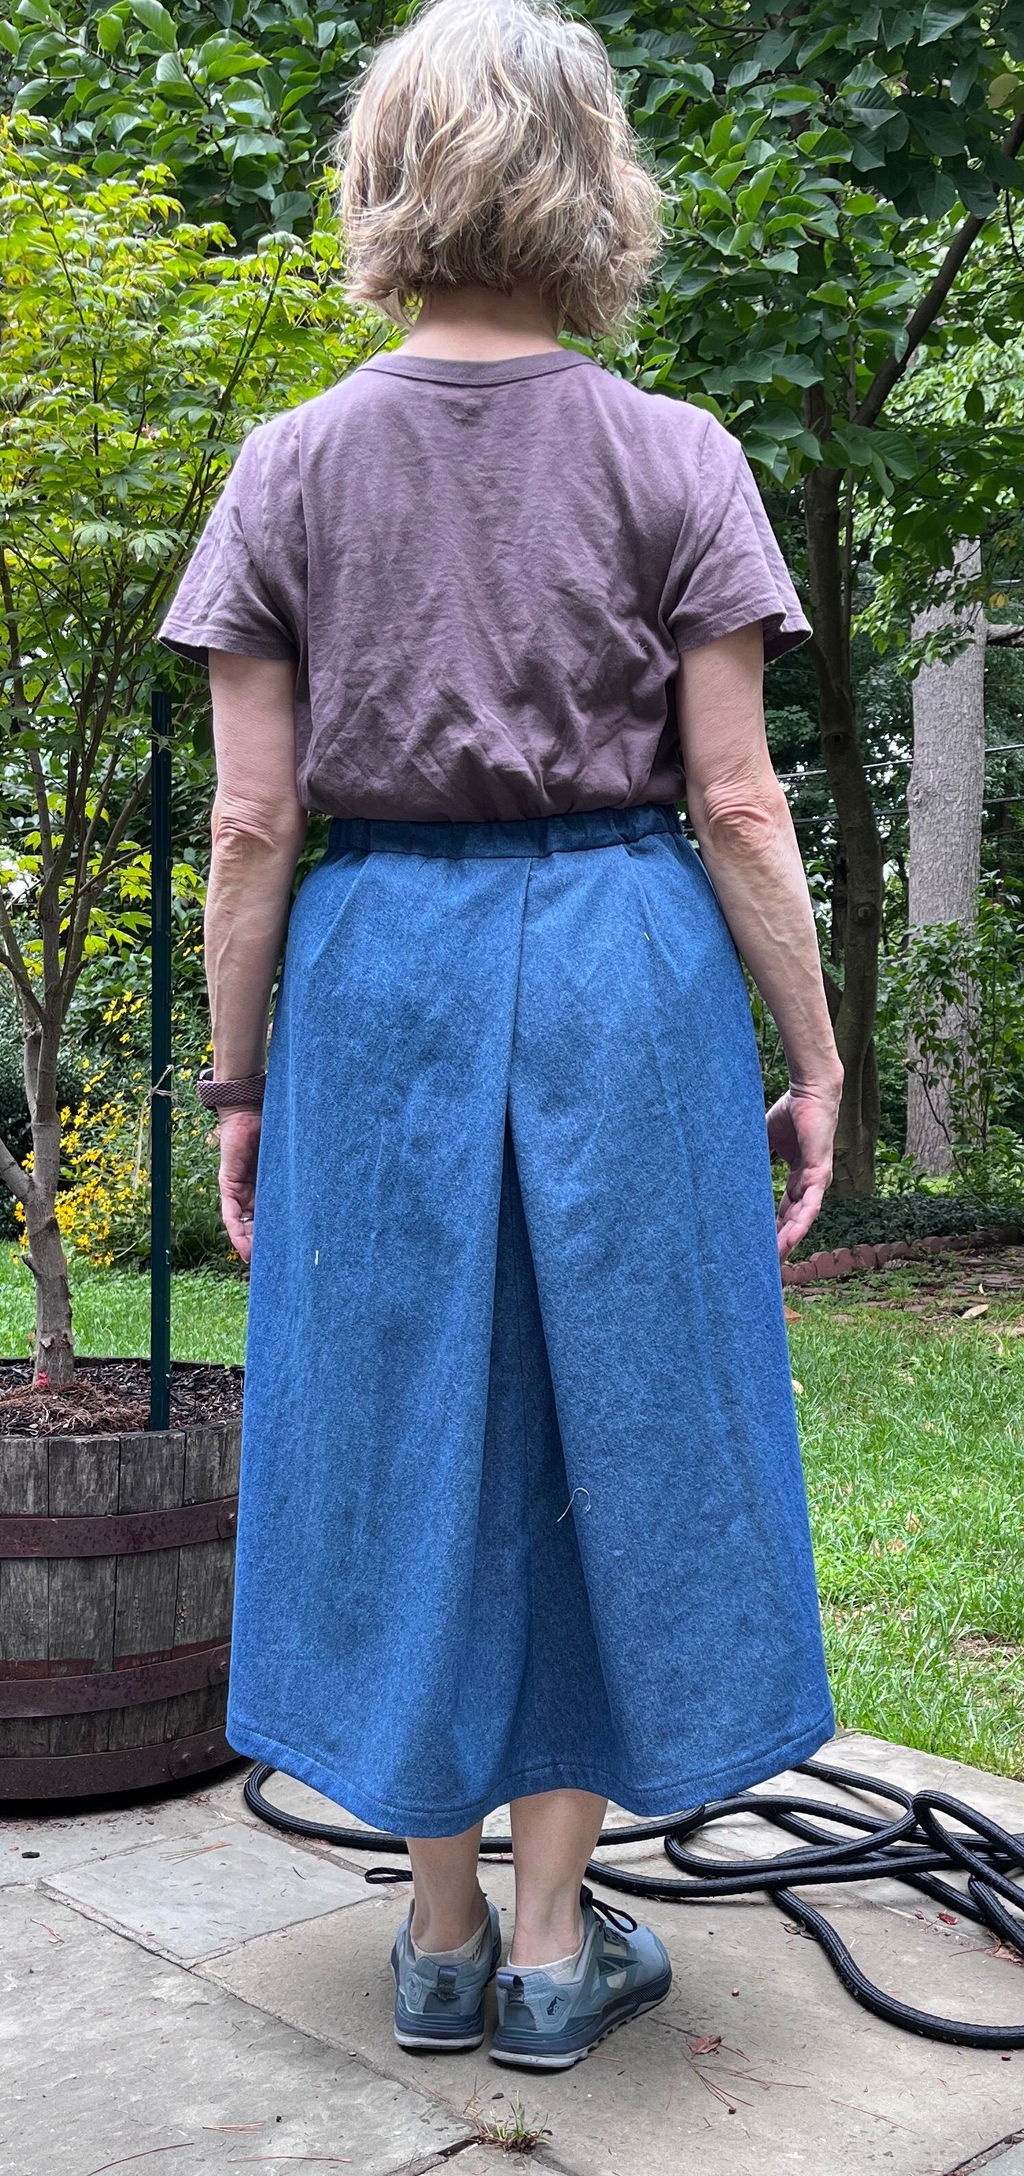

Endgame, Foldies. If you've made it this far then you've earned the esteemed title of Pleat Master: give yourselves a proud pat on the back and a knowing nod of satisfaction.
All that's left to do now is to hem these beauties and add a fastening, then we can get to frolicking!
HEMMING
Disclaimer: I was so excited to finish my Malverns I overlooked taking a photo at the hemming stage.
In place of a photo, here's a little sewing tip that you might not yet have tried out: sew a line of stitching 1cm from the raw hem edge and use this as a guideline when folding up your hem edges in STEP 28a.

BUTTONS AND BUTTON HOLES
For the following steps you will need 2 x 2cm (¾in) flat buttons. (The buttons will be hidden inside the waistband so they don't need to coordinate with your fabric.)
*Note on making button holes: The rule of thumb is that the buttonhole is 1/8″ (3 mm) bigger than the button, but it's always a good idea to do a test on a scrap first. Make sure you are testing your button hole on the same amount of fabric layers (including interfacing) as in your final garment.


Aaaannd you're done–congratulations! Thanks for following along with us during our Malvern Culottes Sewalong.
We’d love to see your Malvern culottes! Tag us on Instagram @inthefolds
#MalvernCulottesSewalong